What is Pattern Making?
2 January 2022
6 min read
Share
What is Pattern Making, Grading, and Marking?
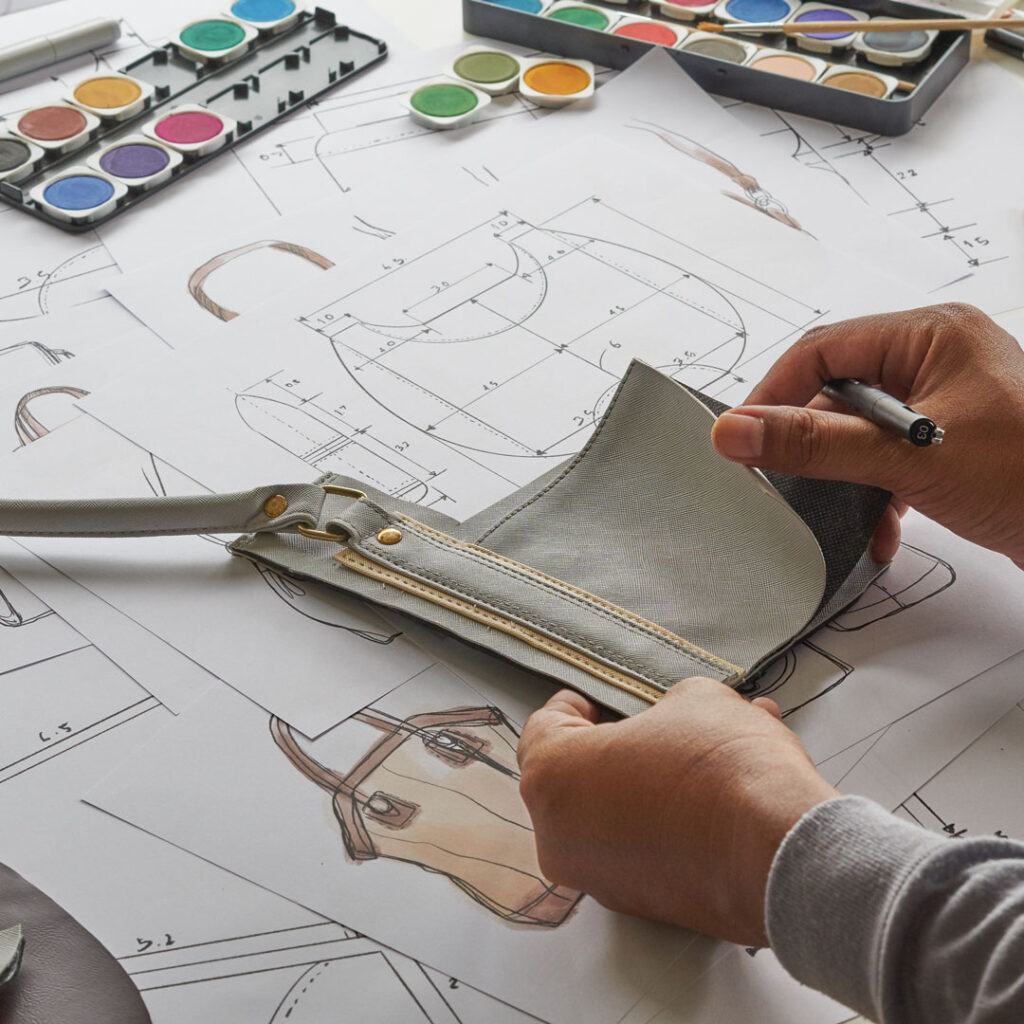
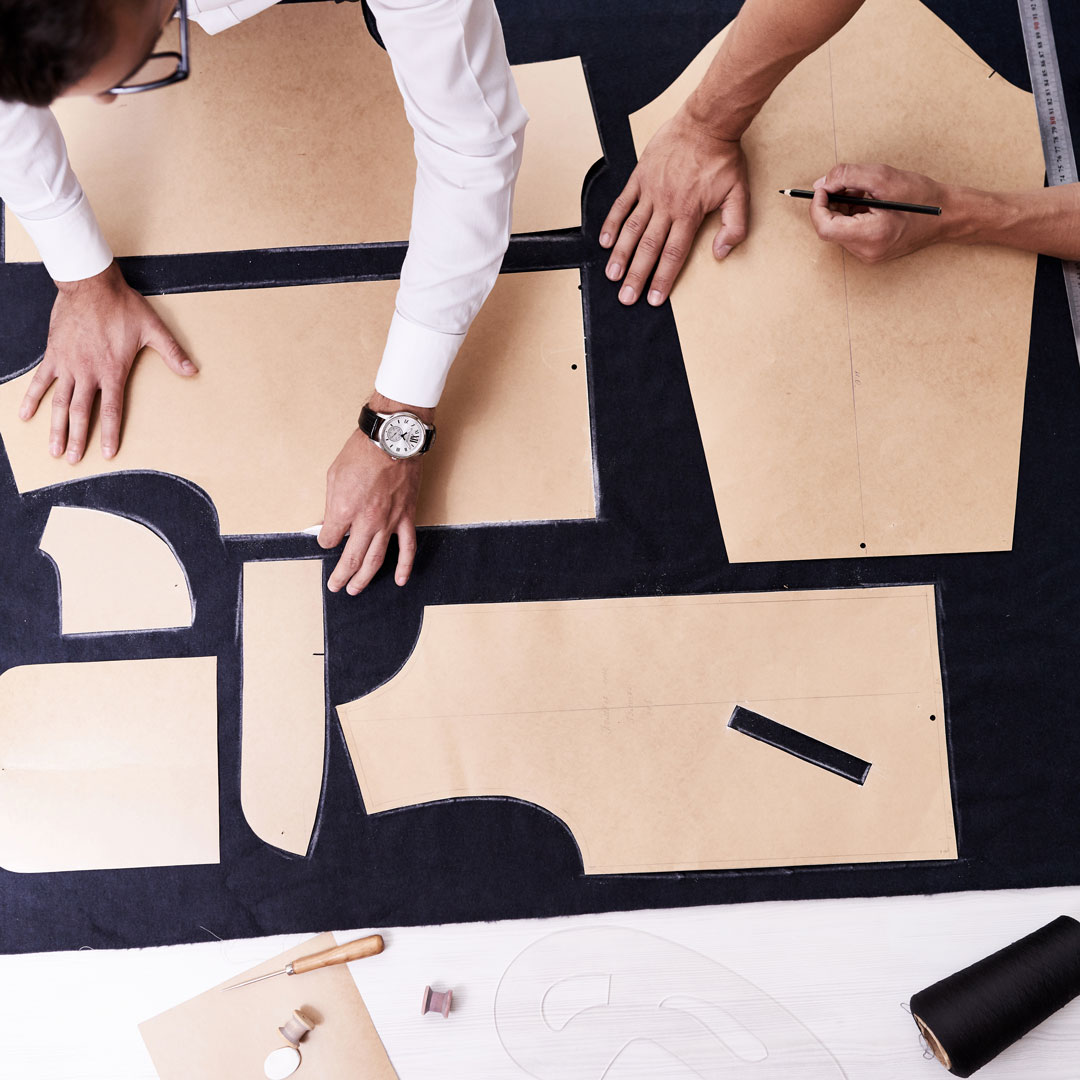
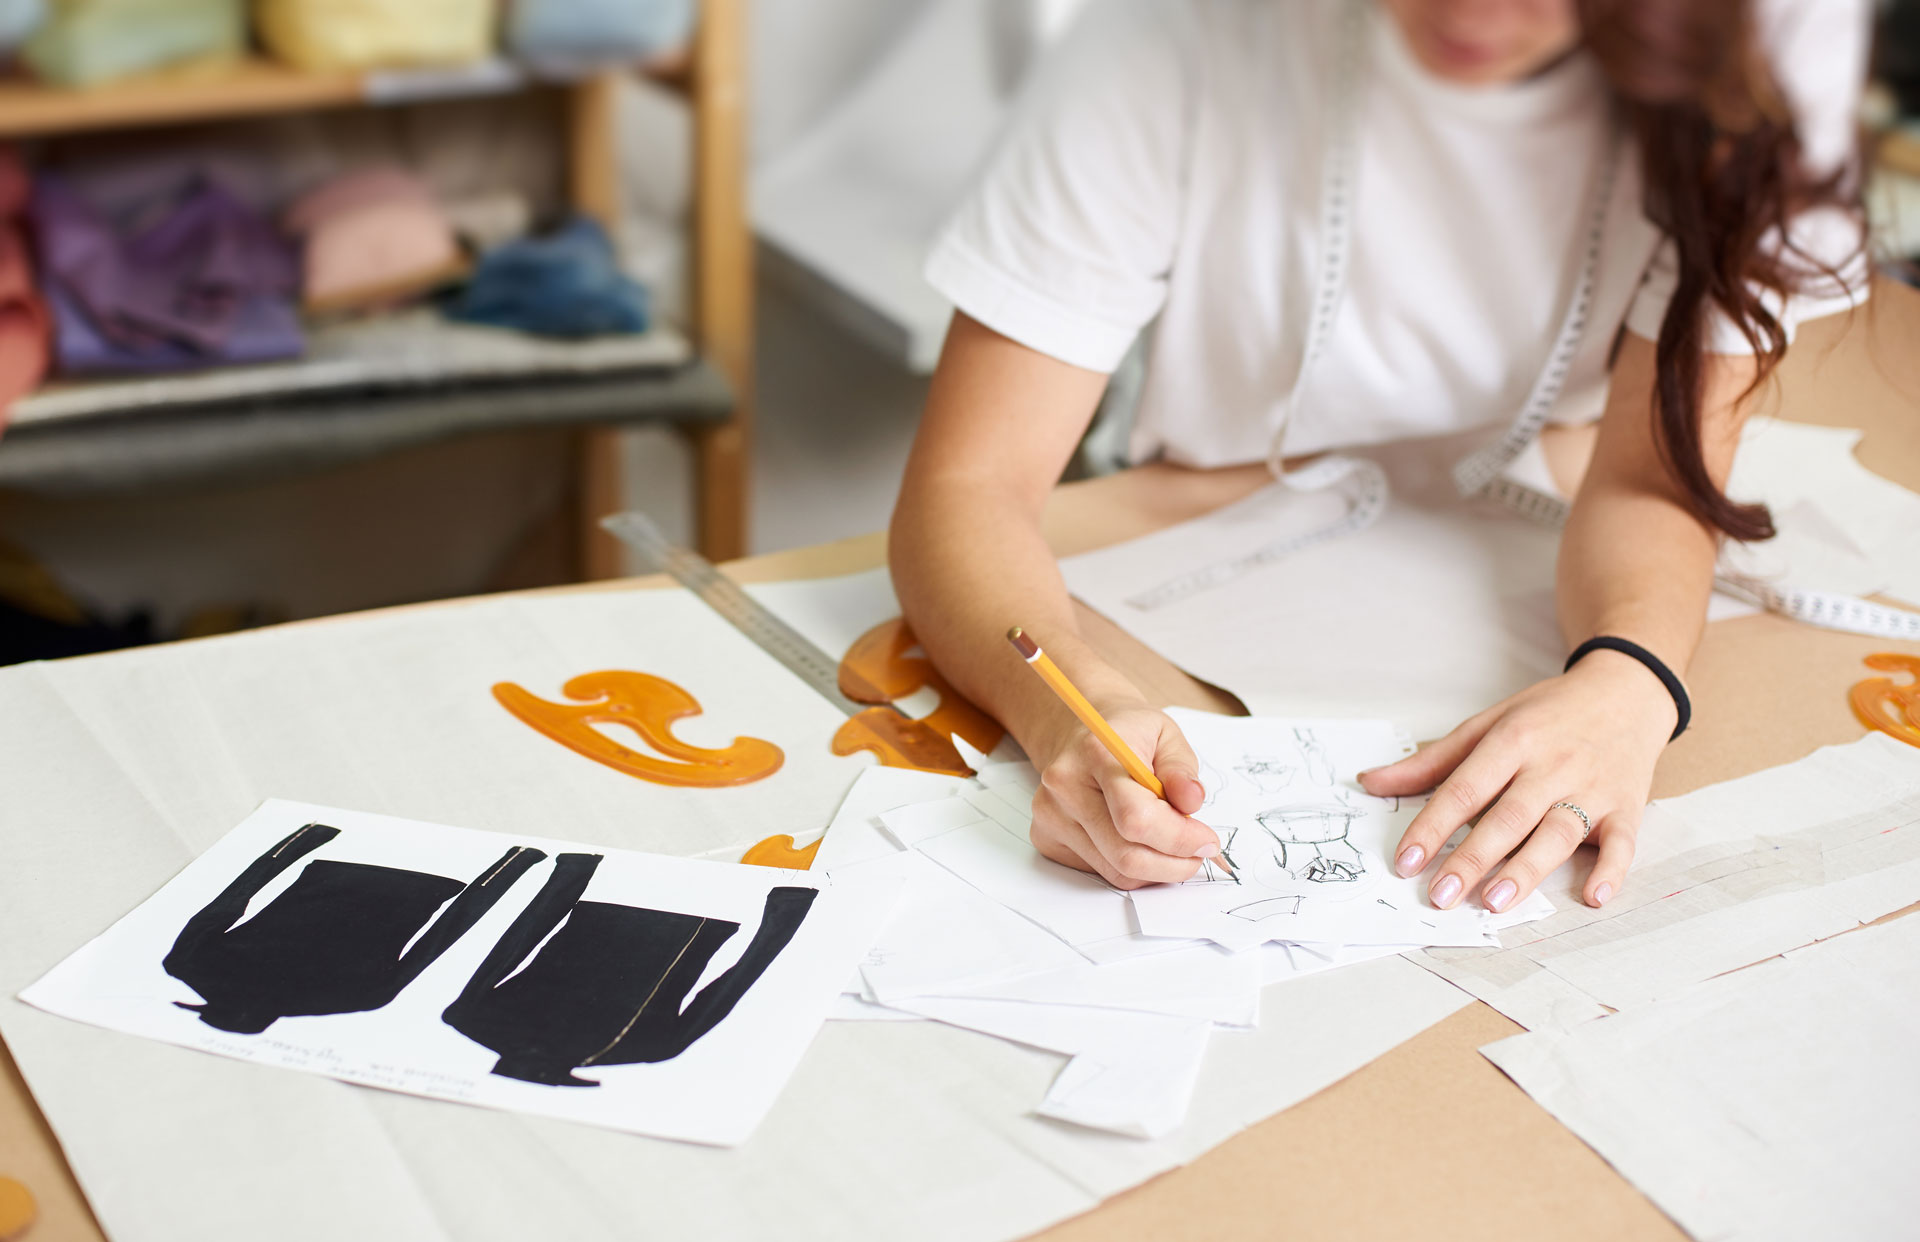
PATTERN MAKING, also known as Pattern Drafting, is the design process of the pattern: 2D flat pieces of cardstock paper that will be used to cut the fabric. Once cut, the pieces of fabric will be sewn together to form a 3D garment. Nowadays, patternmakers mainly carry on their work digitally, using pattern-making software.
The pattern realization is a crucial moment of your product development since it is fundamental for the prototype realization and to guarantee a great fit for the garment. The pattern is realized in full-scale, initially in only one size.
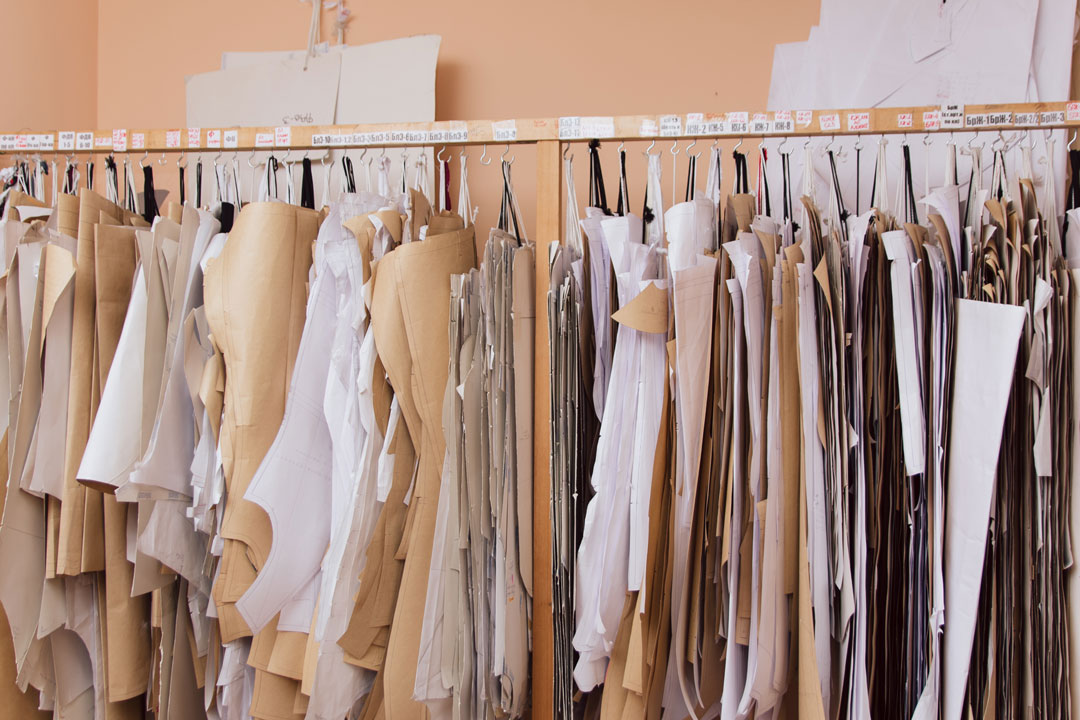
GRADING is the second pattern development phase required to the patternmaker which allows obtaining a pattern in all the needed sizes for production, or technically speaking, to have the pattern in FSR (Full-Size Range). The grading is normally realized after the final prototype approval and ideally should ensure the fit remains fixed in every size.
When grading a pattern, the patternmaker extrapolates, from the base size-approved pattern, all other sizes. In order to do that he relies on the provided size chart, containing the increment/decrement of every main measurement of the body, for every size.
Finally, it is MARKING time!
Once you approach production, you will need to realize the marker.
When you sample, your cutter will cut the pattern pieces required for the construction of one or two garments, one piece at a time. During production, due to the number of units required, this method would be highly inefficient, both in terms of time consumed and fabric waste.
It is, therefore, necessary to speed and optimize the whole process, by cutting as many units as possible at once and by reducing to the very minimum the usage of fabric – the marker will help you with that.
The Marker is the projection of the pattern pieces placed on the fabric, the closest as possible one to the other, by covering the whole fabric width and by considering the textile direction.
The marker will display the pattern in all needed sizes, required in an established fabric, of a certain width.
You weren’t expecting that so many efforts were needed in order to produce a sample and get prepared for the manufacturing process?
At Urth, we can take care of all the Pattern Making related to your project for you.
Get a Quote Today!
What is the Size Chart?
The size chart is a two-way table in which the main body measurements for every size of the garment in development/production are expressed.
In the first top row, you will normally find the sizes, while in the first left column the main measurements are listed: such as chest, waist, hips, neck circumference, arm length, total height, leg side seam, etc.
In the internal cells are the actual anatomical body measurements, expressed in centimeters or inches. There are standard size charts, but most of the brands develop their own one, based on research on their target consumers.
The size charts can be more or less detailed, having different measurements expressed, based on the brand need or garment in question. This chart is used by the patternmakers to realize the grading and is normally disclosed to the public, in a simplified version, for online shopping: size charts are a precious tool that helps the customer understand what size to purchase.
What is the Measurement Chart?
In the first top row, you will normally find the sizes, while in the first left column the main measurements are listed: half chest, neck circumference, sleeve length, sleeve opening, side seam, hem height, etc.
In the internal cells are the final measurements of the garment, extrapolated from the pattern pieces, and expressed in centimeters or inches.
Most of the time, the measurement chart is included in the garment Tech Pack.
The measurement charts can be more or less detailed, having different measurements expressed, based on the type of garment in question. This chart is used by the patternmakers to insert the garment measurements, and by the quality control officers to check if the final garment is precisely sewn.
Normally, in the measurement chart, there is an additional column in which the tolerance applicable to each measure is expressed, indicating the range, negative and positive, within which the measurement of the final garment is accepted or not.
What is the Grain Line?
The Grain Line is the arrow, that every pattern piece must possess, that tells how to position the pattern on the fabric. In particular, the arrow needs to be placed parallel to the direction of the fabric, given by the warp.
How the pattern is laid and cut is very important for two main reasons:
- The majority of the fabrics behave differently depending on the direction in which they are solicited and therefore based on their structure and elasticity direction. This means that the reaction of the fabric pieces sewn into a final garment, and therefore how the garment hangs, is based on how they have been placed and cut.
- If the pattern has an evident nap (which is the raised surface that is typical in some type of fabrics as, for example, the velvet) or if it presents a printed motif, you need to have all pieces facing in the same direction on the fabric, in order to not have bad surprises in the sewn garment! In order to point this out on the pattern:
- Put 2 arrows, one at each end of the line, if it means that it can be placed in either direction on the fabric.
- Put only one arrow, this means that the pattern is placed in one direction only (for fabrics with naps or prints with a certain direction)
What are the Pattern Notches and Landmarks?
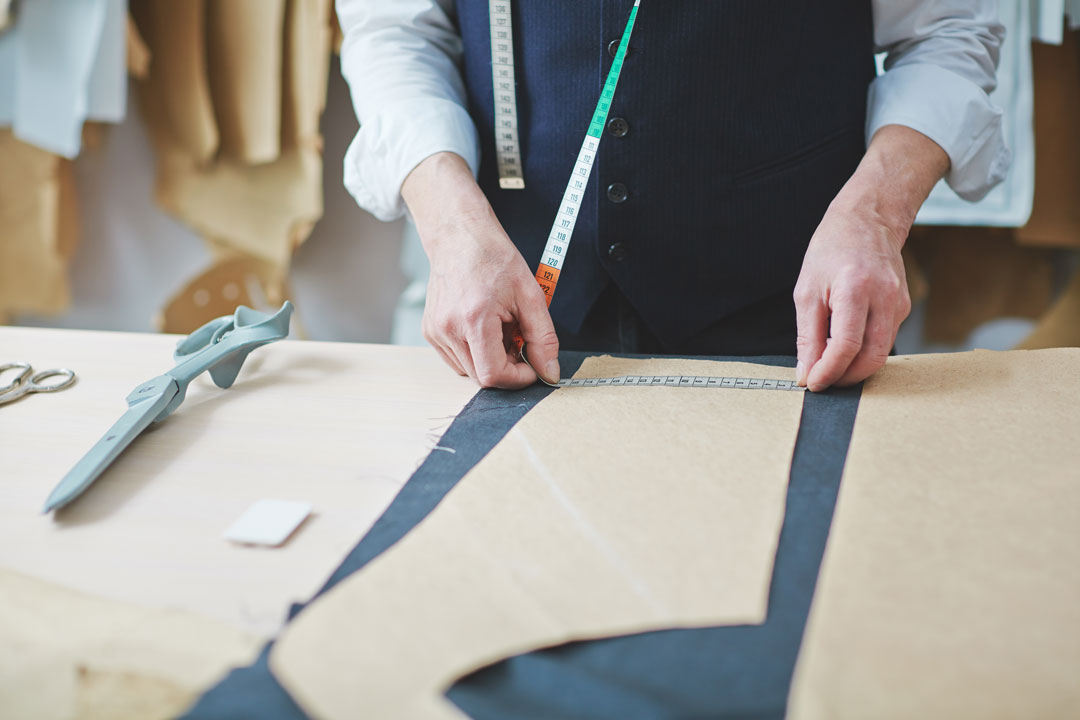
The notches and the landmarks reported on the pattern are normally used to report information about the pattern and help the cutters and sewers to interpret it and to assist in the construction process.
NOTCHES are placed on the pattern edges, nearby with the seam allowance, and are normally used to highlight:
- The beginning and the end of a dart or a fold
- A bending/folding point
- A slit or a vent
- Etcetera
LANDMARKS, have practically the same purpose as the notches but are used to inform on what happens in the internal part of the pattern. Landmarks for example indicate
- The dart summit
- The position of a certain application or embellishment on the internal part of the pattern (i.e. the button, the pocket, patch position, etc position)
- Etc.
What is the Seam Allowance?
The Seam Allowance is an extra margin given to the pattern that permits two pattern pieces to be sewn together. Ordinary seam allowances can vary from 0.5cm to 2cm, but in some extraordinary cases can go up to 5-6cm.
The seam allowances can vary within the same garment, based on necessity.
Of course though, if two pieces are sewn together, these must present the same width allowance.
The seam allowance width is determined based on different factors, among the most, there are the chosen fabric, the garment type, the garment seam in question, the sewing machine used, etc.
Moreover, the line that delineates the effective pattern from the seam allowance also indicates to the seamstress the exact line to follow when sewing.
For this reason, if turning inside-out a finished garment, you can see the seam allowances: these are the extra parts of the fabric that protrude from the seam up to the fabric edge.

What is a Dress Form?
The Dress Form is a full-scale representation of a 3D human body torso, or, in some cases, of an entire body. It is a very useful tool and used for different purposes.
Every design studio should have its dress form, presenting the same size of the sampling size normally used, and having the exact anatomical body measurements expressed by the brand measurements’ chart.
The dress form can be used:
- By the designer to pattern draft, which is a technique that consists of pinning the fabric on the mannequin in order to create new volumes and silhouettes
- By the patternmaker during the fit tests. The prototypes are put on the dress form to check the outcome and make the needed adjustments.


